How to Sharpen Kitchen Knives for Consistent Edge Retention
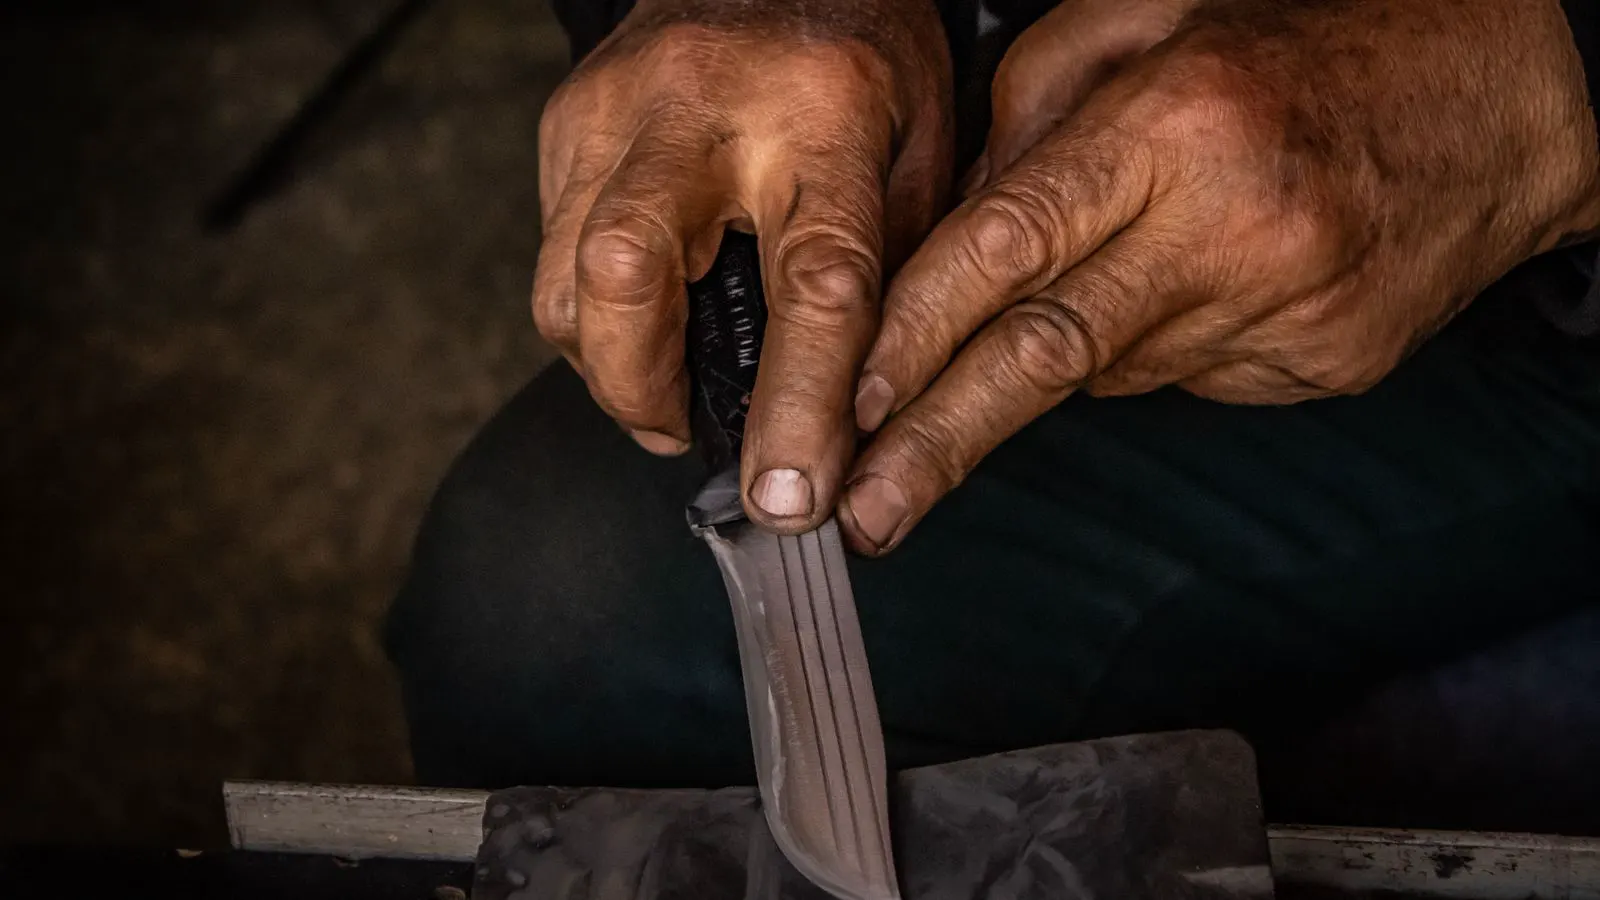
Consistent knife sharpening requires the right angle, even pressure, and a stable reference. This guide provides a step-by-step method for restoring a dull kitchen knife edge, reducing wear, and extending blade life for daily culinary use.
- Maintain a consistent bevel angle between 15 and 20 degrees for most kitchen knives.
- Use alternating passes on each side to balance the bevel and prevent weak spots.
- Inspect the edge under light before and after sharpening to verify uniform contact.
- Hone the blade between sharpening sessions to realign the microscopic edge.
- Store knives in a protective block or strip to prevent nicks and edge damage.
A dull knife is a safety risk and a workflow problem. The edge does not need to be replaced to be useful. It needs to be restored. Consistent knife sharpening is a mechanical process that depends on three variables. The angle of contact, the pressure applied, and the quality of the abrasive surface. This section provides a practical method for professional kitchens and serious home users to maintain a reliable blade edge.
What Tools Do You Need Before Starting
You need a flat, stable sharpening stone with a grit progression, a honing steel, and a clean, dry work surface. The stone must be flat enough to support the full length of the blade without rocking. A non-slip mat is recommended to prevent the stone from sliding during the pass. Water or oil, depending on the stone type, keeps the abrasive particles active and reduces heat.
Check the stone for flatness before you begin. Place a straight edge across the surface. If the stone rocks, the edge will not be uniform. A warped stone creates a curved edge, which fails to cut cleanly through dense materials. A honing steel is not a sharpening tool. It realigns the microscopic edge that bends during use. Keeping a separate sharpening stone for the actual material removal separates the two functions. This prevents confusion in the maintenance routine.
Select the grit carefully. For a new edge or a damaged bevel, start with a coarse grit, typically around 1000. For maintaining an existing edge, a finer grit, around 3000, is sufficient. The stone should be free of clogs. If abrasive dust builds up, the stone glazes over and stops cutting. Rinse the stone under running water and let it dry completely before the next session. A wet stone that is not fully dry can harbor bacteria, which is unacceptable in a professional kitchen environment.
How to Prepare the Work Area
Clear the bench of clutter. The stone should sit on a flat, rigid surface, not a wooden board that can flex. If the stone is a water stone, soak it for the recommended time before use. A dry stone will not cut effectively and will glaze over during the pass.
Wash your hands. Oils and moisture on the skin can transfer to the stone surface and the blade. A clean environment reduces contamination and ensures the abrasive does the work rather than debris. Ensure your lighting is adequate. You need to see the edge line to judge the wear. Poor lighting leads to over-grinding or under-grinding, both of which waste time and material.
Step 1: Inspect the Edge and Determine the Bevel
Hold the blade near a light source and look for the edge line. Check for nicks, chips, or uneven wear patterns. If the blade has a factory bevel, match that angle. If the bevel is damaged, you must grind a new bevel from the existing flat.
Most kitchen knives operate best between 15 and 20 degrees. A lower angle holds a sharper edge but wears faster. A higher angle is more durable but requires more force to cut. Choose the angle based on the intended use, not on a single rule. A paring knife used for precision work benefits from a lower angle. A heavy boning knife that encounters bone and tough cartilage needs a higher angle for durability.
Use a bevel guide if you are new to the process. A guide holds the blade at a fixed angle, removing the guesswork. Once you develop muscle memory, you can freehand the angle. The goal is consistency. Even a small variation of two degrees across the blade length creates a weak point in the edge.
Step 2: Position the Blade on the Stone
Place the flat side of the blade on the stone. Hold the handle with one hand and support the blade with the other. The blade should rest flat against the stone without lifting. The angle between the bevel and the stone surface is determined by the position of your fingers and the geometry of the blade.
Use a consistent reference point. The spine of the knife or the bolster can help you keep the angle uniform. If the angle changes during the pass, the edge will be uneven and weak. Keep your wrist straight. A bent wrist introduces lateral force, which widens the bevel. The blade should touch the stone along the entire length of the edge, from heel to tip.
Step 3: Execute the First Pass
Pull the blade across the stone in a straight line from heel to tip. Apply light, even pressure. The stone should remove material, not scratch the surface. Keep the blade flat and maintain the chosen angle.
The sound of the stone moving against the blade should be smooth and consistent. If you hear a grinding or scraping noise, the angle is wrong or the stone is dirty. Stop, clean the stone, and adjust the position. Do not force the blade through. Let the abrasive do the work. Excessive pressure heats the steel. Heat can alter the temper, reducing hardness and making the edge prone to chipping.
Step 4: Repeat the Pass on the Opposite Side
Flip the blade and repeat the process on the other side. The number of passes on each side should be equal. This balances the bevel and prevents the edge from migrating to one side.
If the original edge was uneven, you may need more passes on the side with more material. Monitor the edge line as you work. The goal is a uniform, straight edge, not just a sharp one. Check for a burr, a thin wire of metal that forms at the edge. The burr indicates that you have removed material to the centerline. Stop when the burr is even on both sides.
Step 5: Use a Honing Steel to Realign the Edge
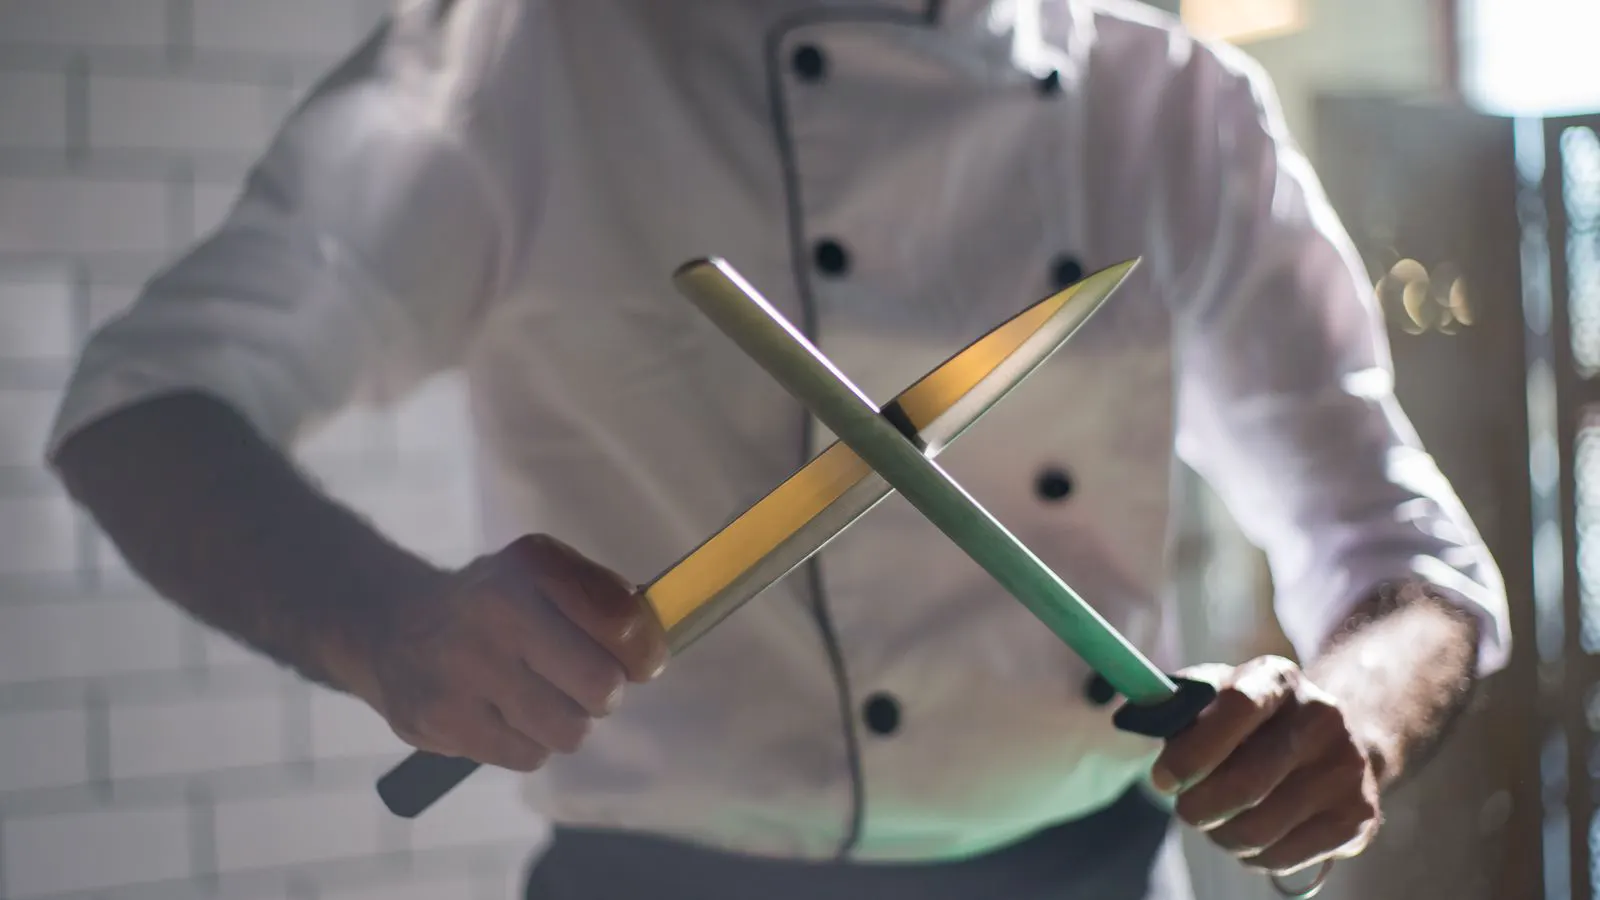
After the sharpening passes, run the blade along the honing steel. Keep the angle consistent with the sharpening angle. Alternate sides with equal pressure.
The honing steel does not remove significant material. It straightens the microscopic burr that forms during use. This step restores the cutting feel without the time cost of a full sharpening session. The steel should be clean and dry. A dirty honing steel transfers debris to the edge. A dull honing steel scratches the blade rather than realigning it. Inspect the steel regularly. If the steel feels rough or no longer smooths the edge, replace it.
Step 6: Test the Cut and Adjust
Test the knife on a soft vegetable, such as a tomato or a piece of bread. The blade should slice through with minimal force and without tearing. If the cut is uneven, return to the sharpening stage and address the specific weak spot.
Do not rely on a single test. Cut different materials and observe the performance over time. Consistent edge retention is measured by the number of uses between sharpening sessions, not by the initial sharpness. A knife that slices paper cleanly but struggles with a carrot has a weak point. Identify the weak point by running the blade along the steel and testing the cut again. Adjust the angle or pressure at that specific section of the blade.
Common Mistakes That Ruin Edge Retention
The most common error is changing the angle during a pass. The edge becomes uneven and cuts poorly. Another mistake is applying too much pressure, which removes material too quickly and creates a weak, thin edge.
Using a dirty stone or a dull honing steel also reduces performance. The abrasive needs to be clean to cut effectively, and the honing steel needs a sharp, uniform profile to realign the edge. Over-sharpening is another frequent error. Removing too much steel shortens the life of the knife. Sharpen only until the edge is functional.
How Often Should You Sharpen?
Frequency depends on usage and blade quality. A high-carbon steel knife used daily may need sharpening every few weeks. A stainless steel knife used occasionally may go longer. The edge dulls when the microscopic teeth on the edge wear down. Hone the blade after every use to maintain the cutting feel. Sharpen only when the hone no longer restores the edge.
The table below summarizes the relationship between sharpening frequency and blade material.
| Material Type | Typical Sharpening Interval | Edge Characteristic |
|---|---|---|
| High-Carbon Steel | 2 to 4 weeks | Holds a very sharp edge, wears quickly |
| Stainless Steel | 1 to 3 months | More corrosion resistant, dulls faster |
| Ceramic Coated | 6 to 12 months | Hard edge, difficult to resharpen |
| Tool Steel | 3 to 6 months | Balanced hardness and toughness |
Final Verification
Place the blade under a bright light and inspect the edge line. It should be straight and uniform. Run a fingertip lightly across the edge, perpendicular to the blade. You should feel a slight burr, not a sharp point or a flat surface.
The final check is the cut. Slice a piece of paper. The knife should cut through cleanly without tearing. If the paper is torn or the cut is uneven, the edge is not ready. Return to the sharpening stage and repeat the process until the cut is clean.
Consistent knife sharpening is a skill that improves with practice. The key is to follow the same steps every time. The angle, pressure, and stone condition must remain constant. When the process is standardized, the result is predictable. The edge stays sharp, the knife stays safe, and the workflow remains efficient.
Frequently asked questions
Can I use a honing steel to sharpen a dull knife?
No. A honing steel only realigns the edge. If the edge is dull, it requires material removal, which only a sharpening stone can provide.
What angle should I use for a chef's knife?
Most chef's knives perform well between 15 and 20 degrees. Choose a lower angle for a sharper edge that wears faster, or a higher angle for a more durable edge.
Do I need to sharpen both sides of the blade?
Yes. Most kitchen knives have a double-bevel edge. You must sharpen both sides equally to keep the edge centered and balanced.
How do I know if my knife is dull?
The knife will struggle to cut soft foods and may tear rather than slice. The edge will feel rough under light inspection and will not hold a clean cut on paper.
Can I over-sharpen a knife?
Yes. Removing too much material creates a thin, weak edge that can chip or break. Stop sharpening when the edge is sharp and the bevel is uniform.